HOW TO CHOOSE GROUT LIKE A PRO
Grout. It’s not the sexiest of words. Nor the sexiest thing you’ll have to choose in your renovation. But, believe us, those gorgeous feature tiles could end up looking pretty damn unsexy if you don’t consciously choose your grout before tiling begins.
Many people actually miss the opportunity to specify their own grout altogether, assuming that they don’t have much choice other than white or grey. Wrong! These days, grout comes in so many shades that you’ve got the option to choose a colour that will totally impact the finished look of your tiles.
So, now you know that you need to be in the know when it comes to choosing your grout… let’s get down to the nitty grouting gritty.
HERE’S WHAT WE WILL COVER
1) WHAT IS GROUT?
2) How do I pick my grout colour?
3) White grout? Yay or nay?
4) shall I go to the dark side? DARK GROUT PROS AND CONS
5) HOW WE made coloured grout a feature
6) GROUT COLOUR AND LIGHTING
7) Is all grout the same?
8) Where do I buy self-cleaning grout?
9) how to save on your next tiling project
WHAT IS GROUT?
Good question!
In a functional sense, grout’s the guy who holds everything together #abitlikethehusband Whether they’re hand or machine-crafted, tiles are never going to have perfectly straight edges to line up seamlessly, so it serves the purpose of filling the gaps between the tiles. Grout also helps hold your tiles to the walls or floor and acts as a sealant to help prevent water getting in behind.
And then there’s how it looks (the part that we’re all about!). Grout can actually make or break the overall impact of your tiles. This is why you really need to make a conscious decision about it for yourself. You can play around with colours and the size of the gap between tiles to dramatically change the look of your layout.
HOW DO I PICK MY GROUT COLOUR?
The truth is, there’s no right or wrong when it comes to choosing grout. It’s all about selecting the right colour for your project and, of course, your reno vision board. What’s a vision board? We teach you all about it here.
A good way to start is to think of the three different looks you can achieve with different grout colours. Do you want to contrast, complement or camouflage?
Choosing the right grout colour can dramatically alter the overall aesthetic of your tiling project. Whether you want to accentuate or harmonise with the tile, the right grout colour is essential to achieving your desired look.
Working through the three C’s might help you make your choice:
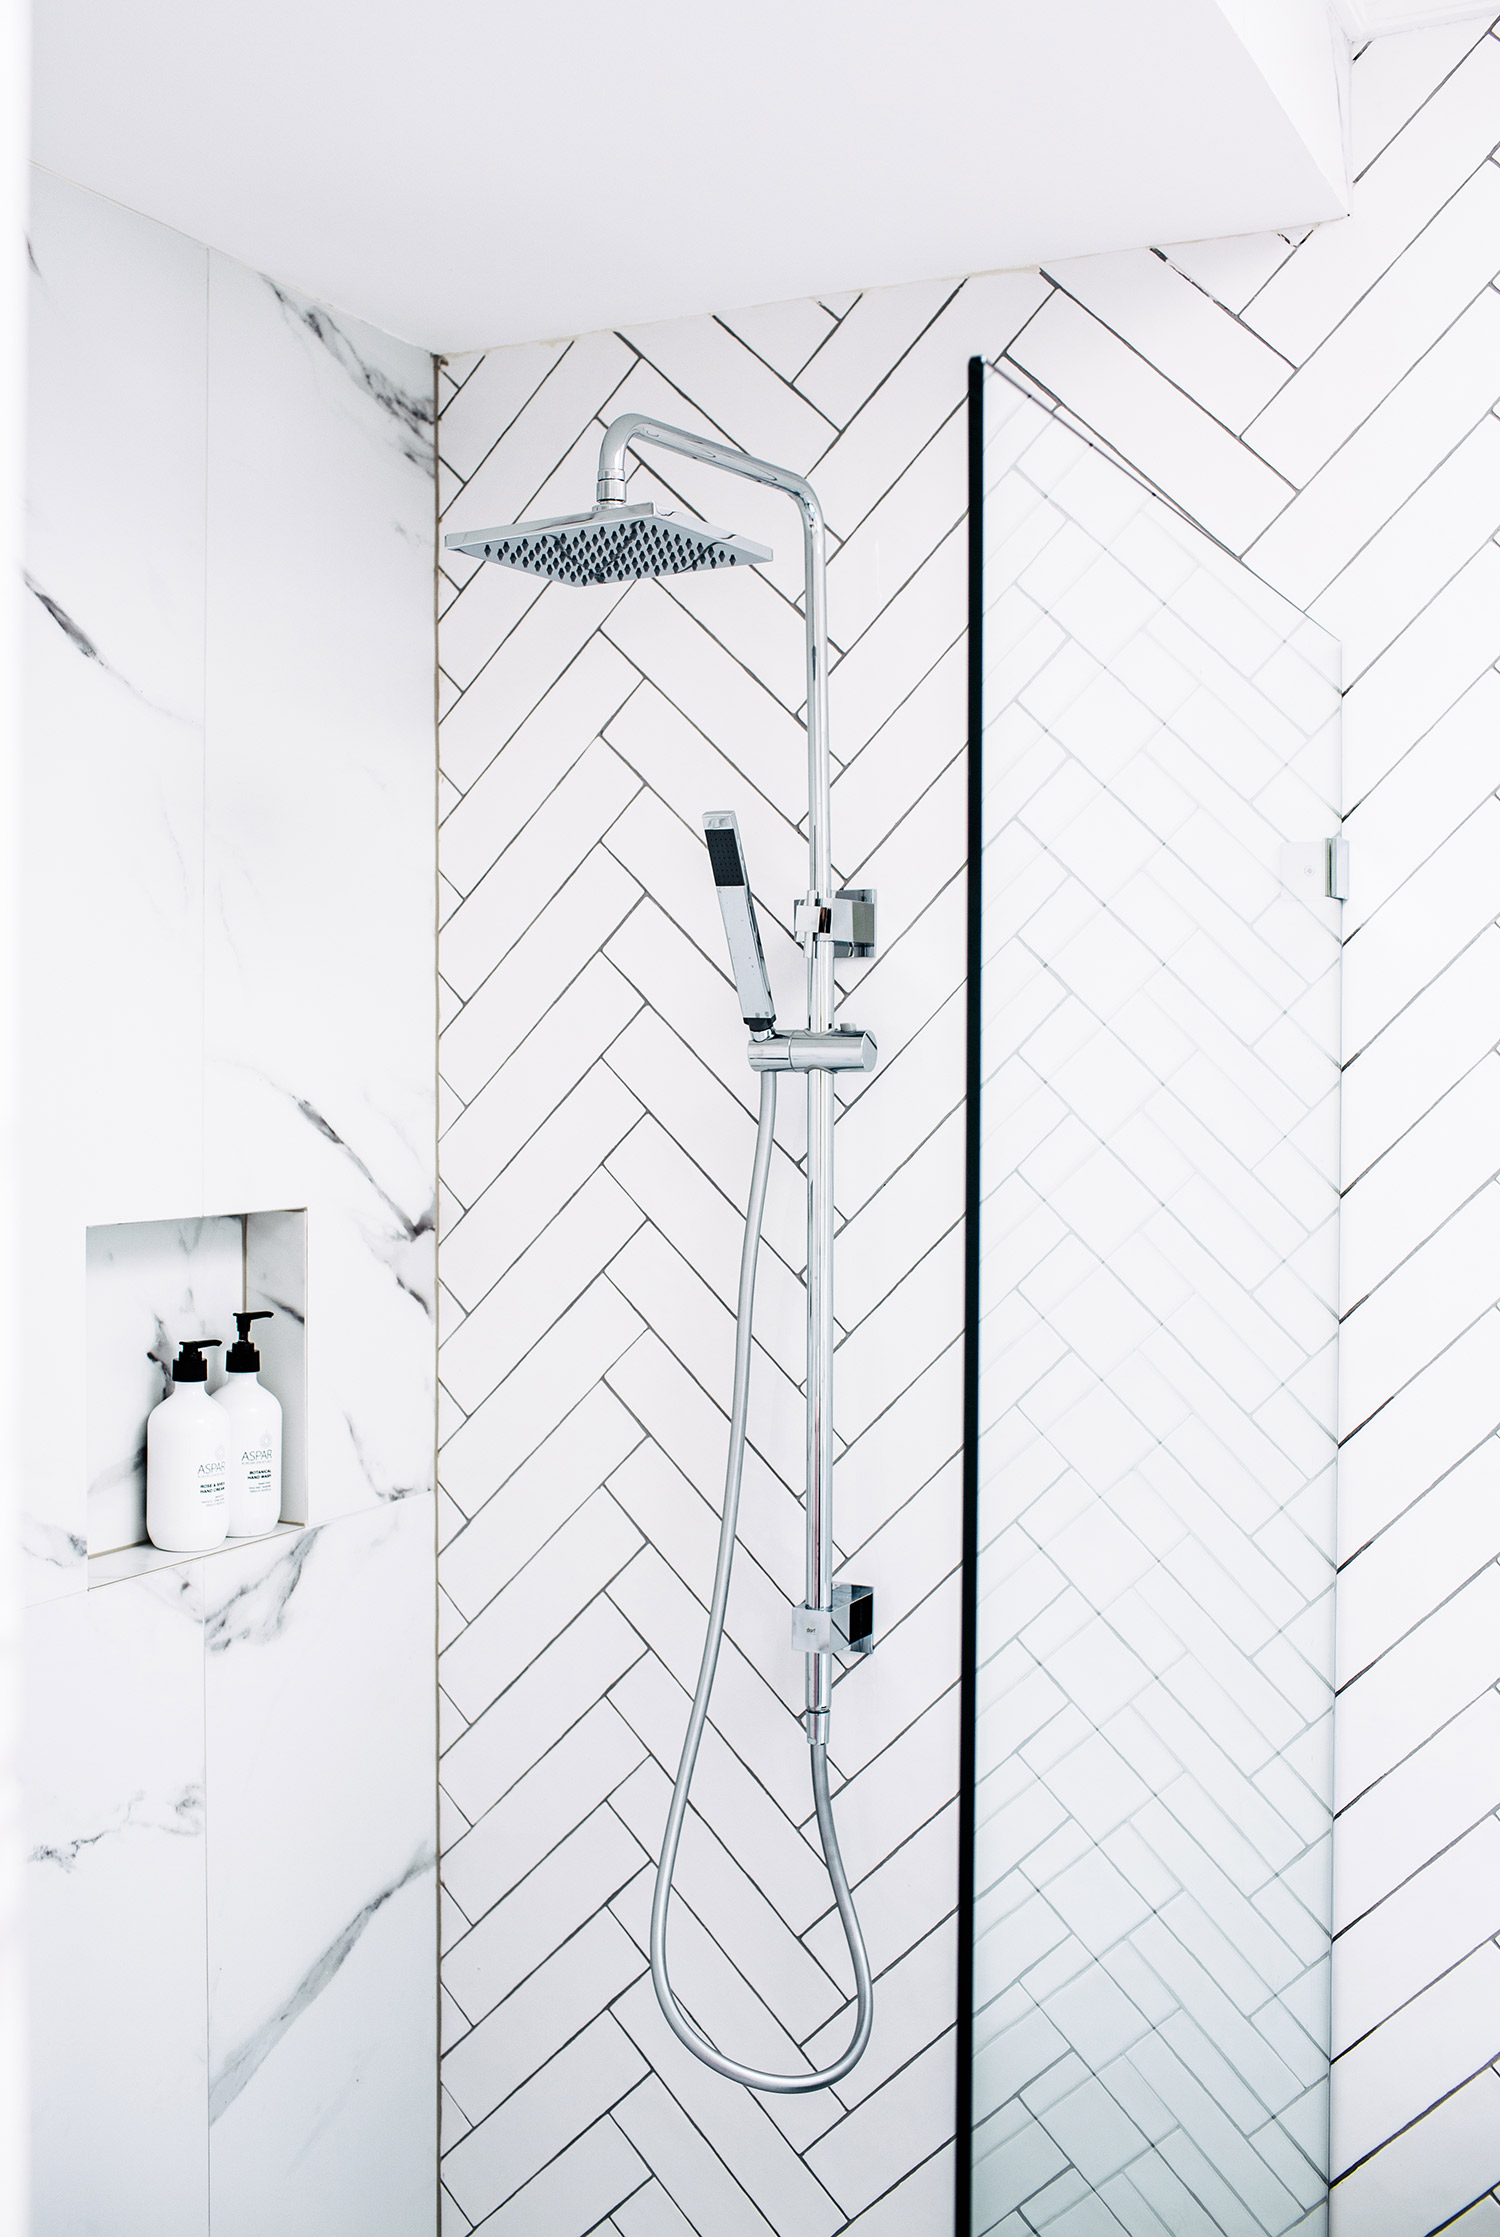
Contrast: If you want to make a statement, use contrasting grout to make your tiles POP. We’re talking black grout on white subway tiles, in your face, no hiding from anyone. You can see what we did below with dark grout on a white tile.
Complement: Perhaps you’re using a gorgeous multi-coloured patterned tile? Then you’re going to need to choose a grout colour that complements the palette. You can’t match them all, so which will colour will you choose to pull out?
Camouflage: If you’re not so brave, or want your tiles to blend seamlessly to look like one big piece, you can camouflage your grout, so you’ll hardly know it’s there at all.
Still can’t decide? We always set up a few tiles on the ground and rub dry grout powder into the cracks to see what the end result will look like. Visualising how different grout colours can impact the overall aesthetic is crucial. Tools like a 'Grout Colour Selector' can also help you explore and choose the best options for your project.
White grout? Yay or nay?
It’s no secret we’ve got a crush on most things white, but we’ve got to be honest when it comes to grout - white on floors is usually out.
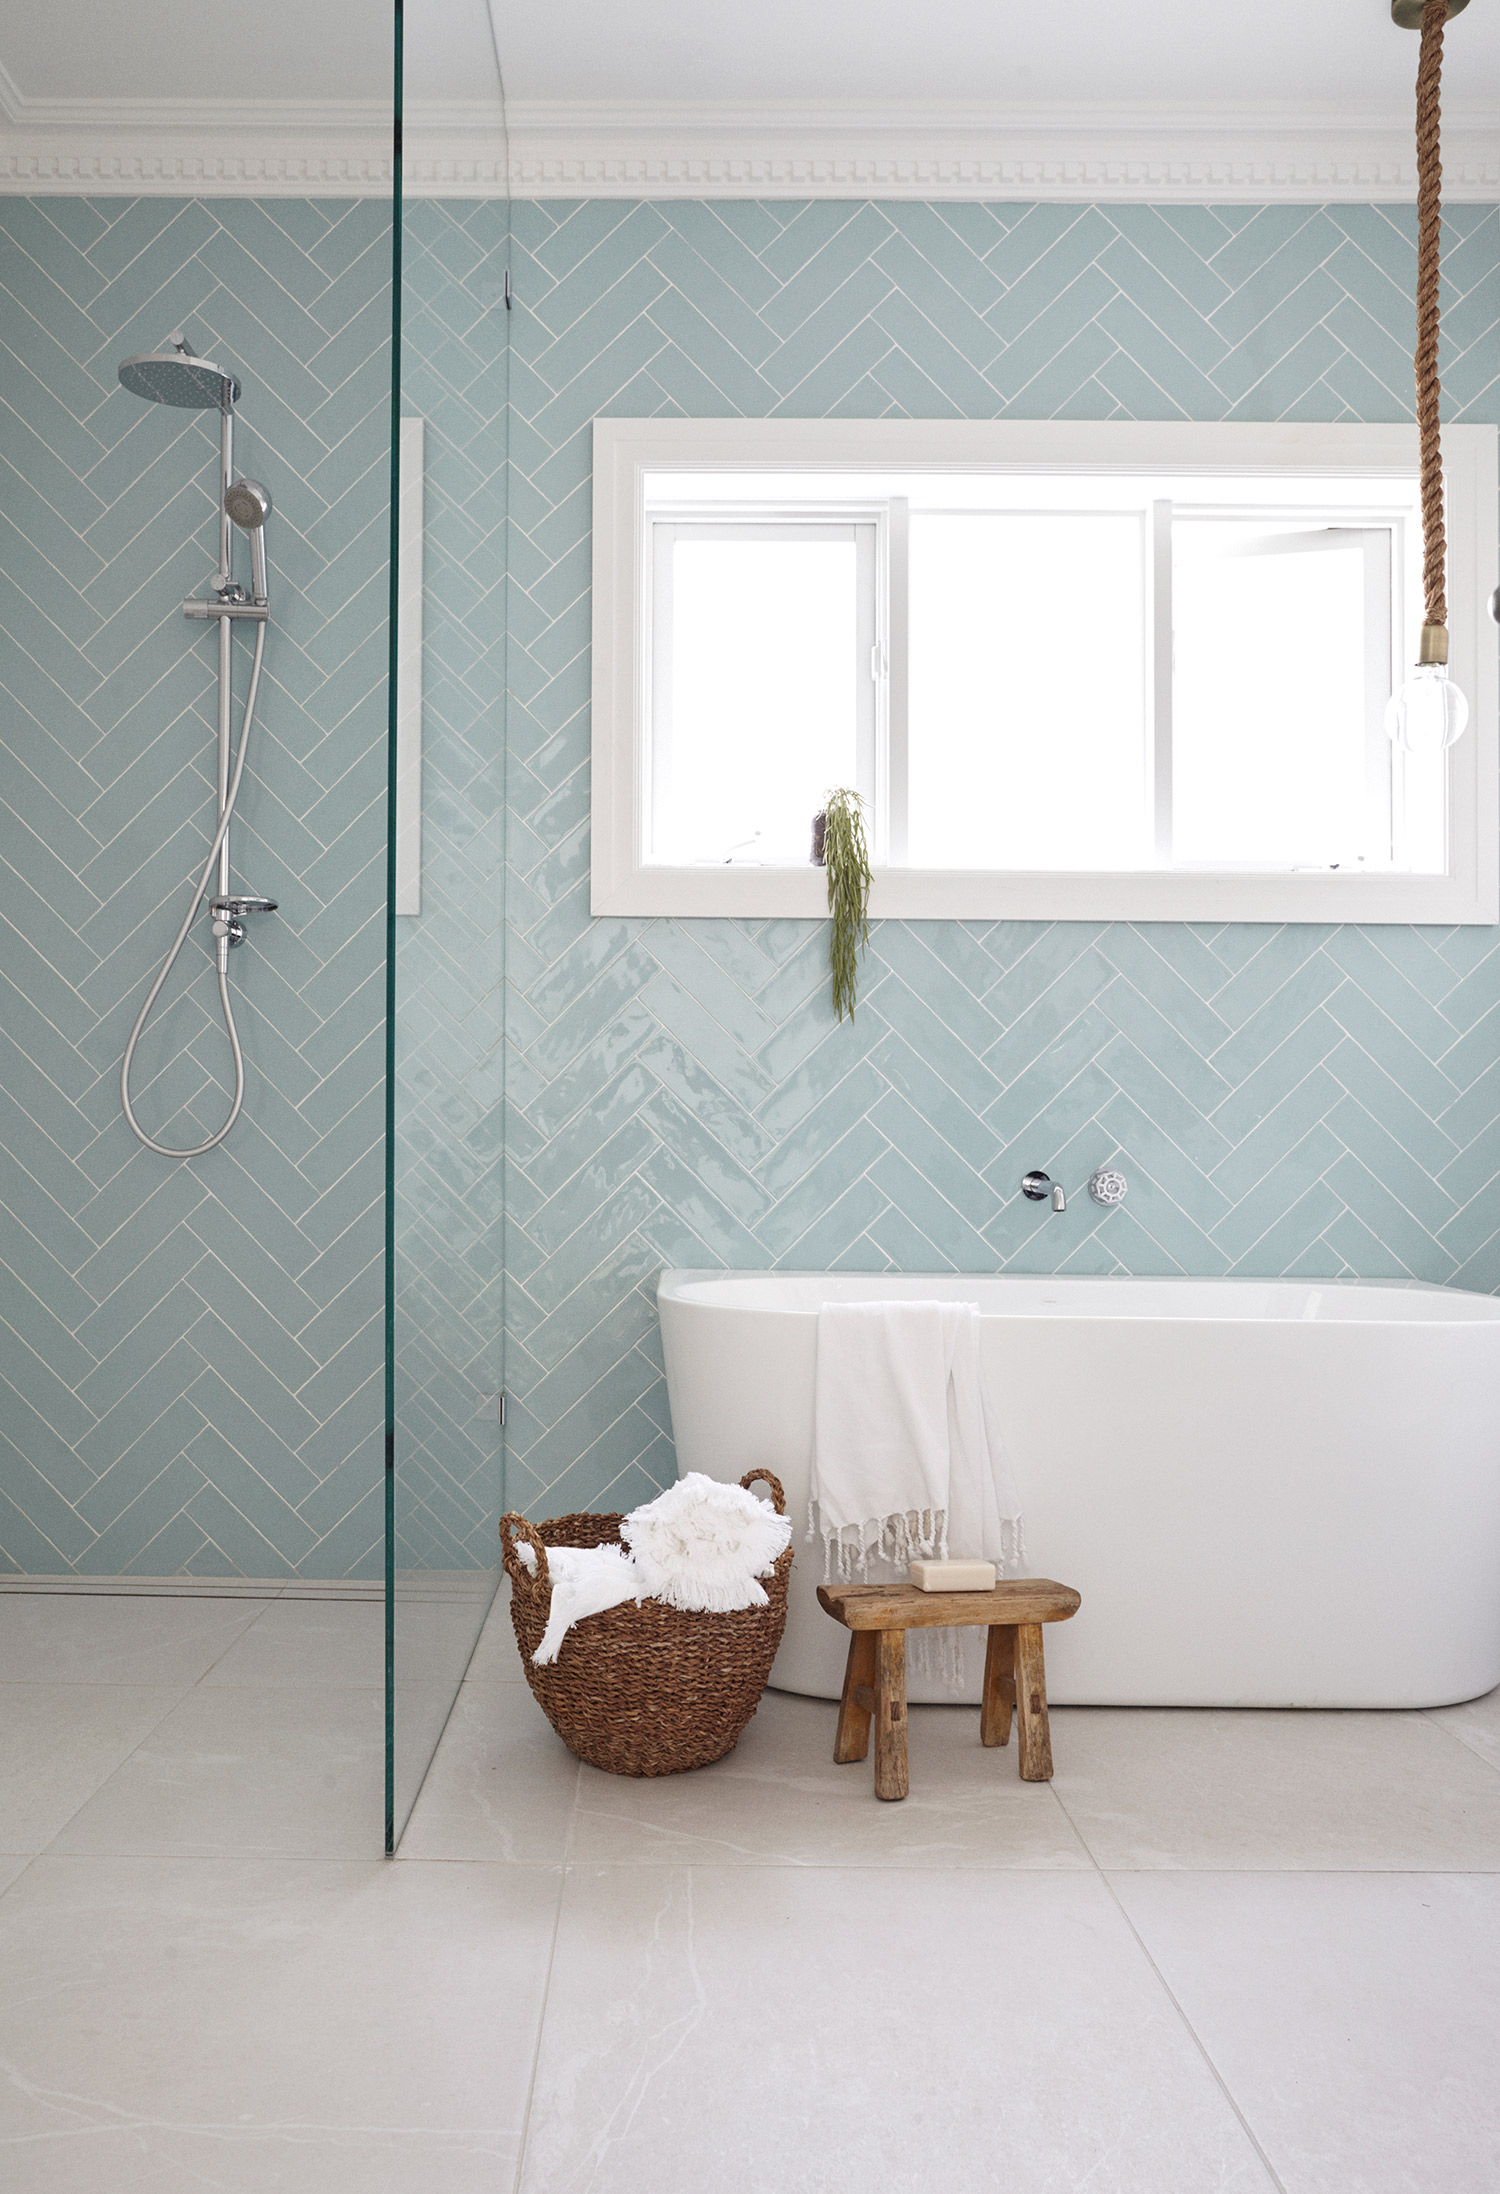
We love white grout on our bathroom walls, it’s our go-to colour for a clean, fresh colour scheme. We bucked the trend in Lana’s home though and used white grout on the main bathroom floor too. “It’ll be fiiiiine!”, Lana told the girls, when sensible Erin questioned her choice in this high traffic room. A few years on and it’s definitely not the bright white it used to be but Lana still loves the white and wouldn’t have had it any other way.
So, if you want practical, then white’s out for floors. What should you use? We recommend the lightest to go on floor tiles is ‘silver grey’ or misty grey’, even if you have white tiles.
White sounds like hard work… shall I go to the dark side?
If you’re picking tiles and grout for practicality, (ie. the least work to clean!) choosing between light and dark grout is a bit like your white and black jeans. You’ll probably find that light coloured grout will need to be cleaned more often because it shows up more dirt. Just like white jeans with toddlers’ hands #baneofmylife
Darker grout may appear more forgiving, but it will produce efflorescence (a build-up of salts that looks like white deposits on your grout) over time. Just like your dark jeans, it’ll appear cleaner for longer, but when the dirt builds up too much, you’re going to have to get down and dirty and scrub it too.
CHECK OUT THIS DARK GROUT ON A WHITE TILE WE DID IN HOUSE 5
HERE’s HOW WE made coloured grout a feature at house 12
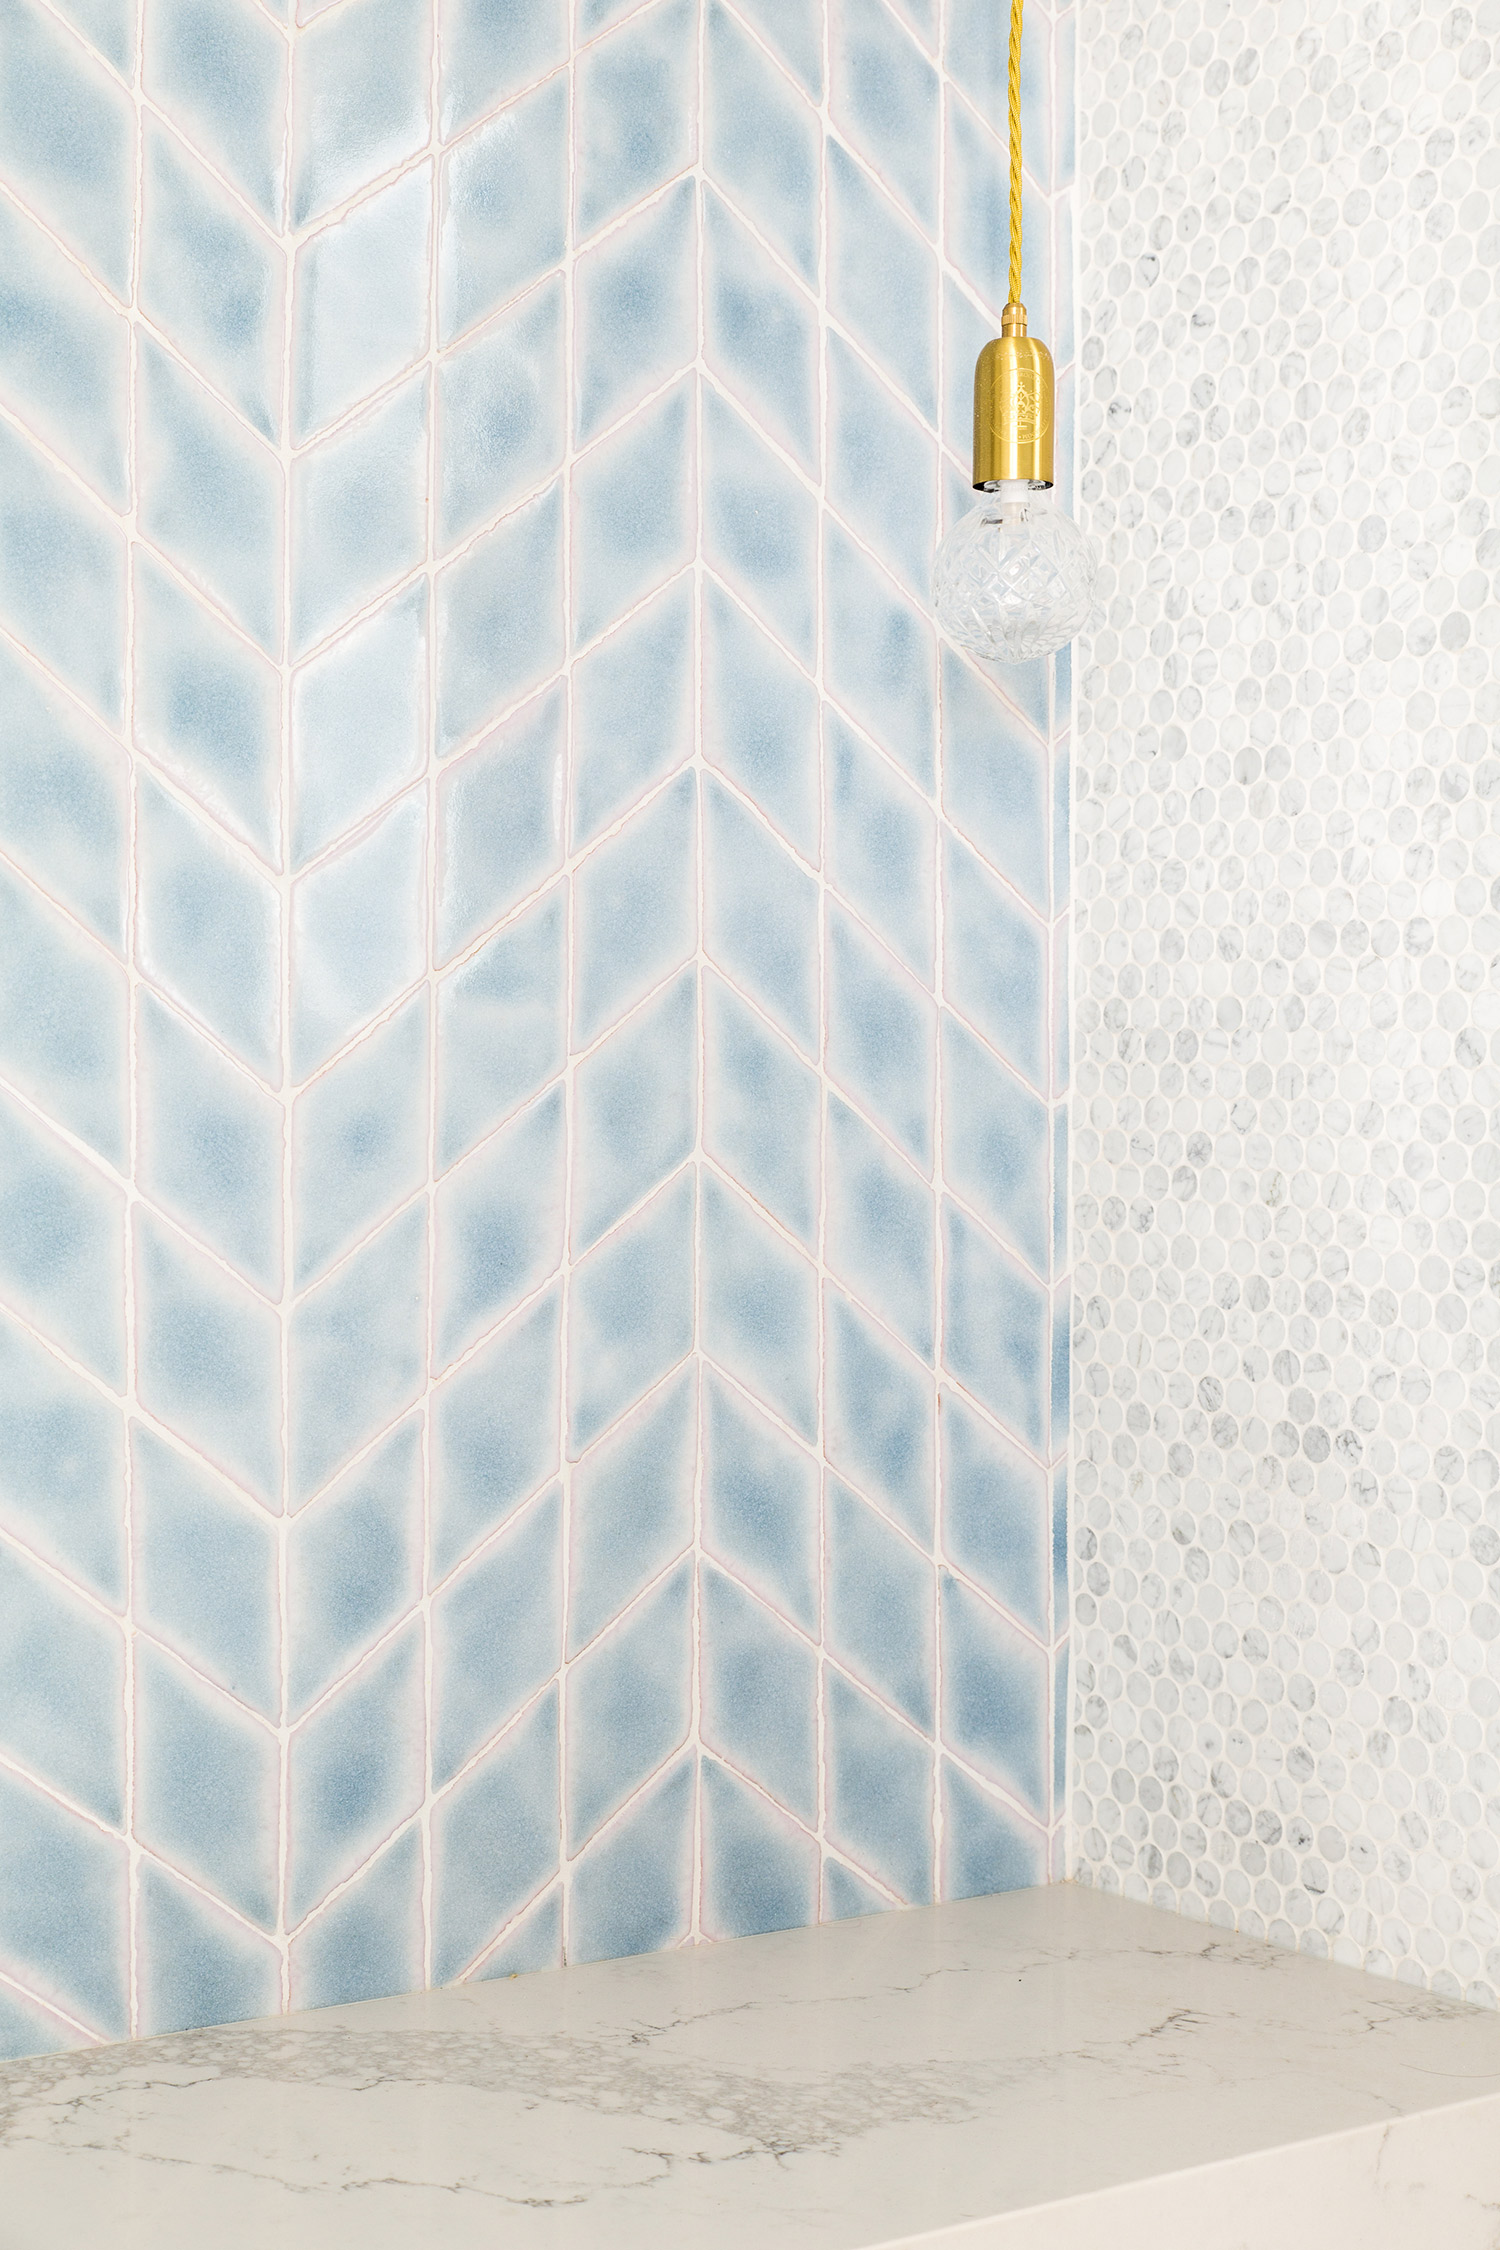
At House 12 we went to town with gorgeous grout lines and really made a feature of them. The grout colour selected plays a crucial role in enhancing the overall design. In the master ensuite, we used Mapei ‘Powder Pink’ for maximum ‘pop’, and in the main bathroom, we dialled up the thickness of the horizontal lines to a whopping 2.5cm of gorgeous Mapei ‘Carribean’ grout.
GROUT COLOUR AND LIGHTING
Lighting can have a significant impact on the appearance of your grout colour. Different lighting conditions can affect how the grout colour appears, making it look lighter or darker than it actually is. Here’s what you need to know:
Natural light: Natural light can make grout colours appear lighter and more vibrant. If you’re selecting a grout colour in a well-lit area, consider how it will look in different lighting conditions throughout the day. Morning light, afternoon sun, and evening shadows can all change the way your grout looks.
Artificial light: Artificial light can make grout colours appear darker and more muted. If you’re selecting a grout colour in an area with artificial lighting, consider how it will look in natural light. It’s always a good idea to test your grout colour in both types of lighting to see the full effect.
Colour temperature: The colour temperature of lighting can also affect how grout colours appear. Warm lighting (such as incandescent bulbs) can make grout colours appear more yellow or orange, while cool lighting (such as fluorescent bulbs) can make grout colours appear more blue or purple. This can dramatically change the overall appearance of your tiles.
When selecting a grout colour, consider the lighting conditions in the area where the tiles will be installed. Remember, the right lighting can enhance the beauty of your tiles and grout, making your space look its best.
UNDERSTANDING GROUT TYPES
Isn’t all grout the same? No they aren’t…There are so many grouts on the market and with so many claims, it’s hard to keep up.
When it comes to choosing the right grout for your tiling project, it’s essential to understand the different types of grout available. Each type has its own unique characteristics and uses, so let’s break it down:
Cement-based grout: This is the most common type of grout and is suitable for most tiling projects. It’s a mixture of cement, sand, and water, and is available in a range of colours. Perfect for your everyday ceramic tiles and a go-to for many DIY enthusiasts.
Epoxy-based grout: If you’re looking for something more durable and resistant to stains, epoxy-based grout is your best bet. It’s often used in high-traffic areas and works well with ceramic tiles, quarry tiles, and natural stone. Think of it as the superhero of grouts – tough and reliable.
Acrylic grout: This water-based grout is easy to clean and maintain, making it a great choice for ceramic tiles, porcelain tiles, and natural stone. It’s available in a variety of colours, so you can find the perfect match for your project.
Furan grout: Highly resistant to chemicals, furan grout is often used in industrial and commercial settings. It’s suitable for ceramic tiles, quarry tiles, and natural stone. While it’s not commonly used in residential projects, it’s good to know it’s there for those heavy-duty jobs.
When selecting a grout type, consider the specific needs of your tiling project. Think about the type of tiles you’re using, the level of traffic the area will receive, and the desired level of durability and maintenance. Choosing the right grout can make all the difference in the longevity and appearance of your tiles.
We’ve been using Mapei grout more recently which is an epoxy product that repels waters and is mould-resistant. It’s also non-porous so it doesn’t need to be sealed – bonus! It comes in 34 different colours, so we’re spoilt for choice in all our tiled rooms. Hand on my heart though, it does still get dirty and it does still need a good scrub.
GROUT COLOUR CHART BY MAPEI
Where do I buyself-cleaning grout?
That’s the million-dollar question! If you find it, please send it our way! The reality is that you can’t have your cake and eat it too. Grout …. at some stage ….. is going to get dirty and will need to be cleaned. The higher the usage of the tiled area, the more you’ll often have to clean it #statingtheobvious
One way to help with maintenance is to seal your grout. Grout is a porous material that can absorb liquids and stains, making it difficult to clean and maintain. Here’s why sealing grout is so important and how to do it:
Why seal grout?: Sealing grout helps to protect it from stains and damage, making it easier to clean and maintain. It also helps to prevent the growth of mould and mildew, keeping your tiles looking fresh and clean.
How to seal grout: There are several types of grout sealers available, including water-based and solvent-based sealers. Apply the sealer according to the manufacturer’s instructions, and make sure to test it on a small area first. This will ensure you get the best results without any surprises.
How often to seal grout: The frequency of sealing grout depends on the level of traffic and use the area receives. As a general rule, grout should be sealed every 1-2 years. High-traffic areas like kitchens and bathrooms may need more frequent sealing.
If you need to tackle grimy grout, we recommend:
Good old-fashioned elbow grease – just a toothbrush and water are a good way to start getting surface muck off grout. Make it a game for the kids in the shower… just don’t let them use that brush for their teeth afterwards.
Baking soda – if you want to keep it natural, try mixing two tablespoons of baking soda with water to form a thick paste, and scrub into the grout with a small brush. When it’s all covered in baking soda, spray the area with vinegar, leave it for half an hour while it bubbles up (the kids will love this option too – it looks like little volcanoes all over the floor!) and then rinse off. Repeat if necessary.
Bleach – definitely not a kid-friendly option, but if all else fails, bleach might be the only answer for hardcore stains on grout. Open all the windows, remove your favourite activewear (there’s nothing like a bleach splash to ruin your favourite jumper) and follow the instructions on the bottle. Scrub in-between the tiles and rinse well when finished.
Grout pens – We haven’t tried these, but Lana has a friend who swears by them. You can buy these from your local hardware store. Apparently, they’re super simple to use, you just draw over the grout lines and it’ll re-whiten discoloured or faded grout. Sounds amazing!
Have you tried re-grouting? We haven’t… we’re always partial to new tiles, rather than trying to revive old ones. We’ve heard that old grout is not a fan of new grout and that they don’t get on well with each other. We thought this was just a problem with my old dog and new puppy – not grout!
Sounds like a job best left to the professionals? We’d love to hear if you’ve given it a go!
Looking to save on your next tiling project?
Our Dream Discount Card is your key to saving on all the fabulous finds for your home, from tiles to furnishings, helping your dream home come together while keeping your budget in check. Whether you're renovating, styling or just buying beautiful things for your home, this card is a must-have for the savvy shopper. Save every time you shop with our Dream Discount Card.
WHEN YOU SIGN UP FOR THE THREE BIRDS DREAM DISCOUNT CARD, YOU’LL GET:
♡ 12 months of unlimited access with unlimited discount usage
♡ BIG savings on 25,000+ products for savings with styling and renovating
♡ Never wait for the sales with an average of 20% off every day
♡ FREE BONUS: Three Birds Shopping Short-Cut to save you time

