10 BEST MONEY-SAVING TIPS FROM 10 YEARS IN THE BIZ
Over the past 10 years, we’ve learned a thing or two about creating dream homes while keeping costs in check. From our very first flip to our most recent transformations, we’ve discovered plenty of savvy ways to stretch a dollar without skimping on style.
To celebrate a decade of Three Birds Renovations, we’re sharing 10 of our best money-saving tips. These are the golden nuggets we’ve picked up along the way - tricks that have helped us (and our incredible community!) achieve stunning spaces without blowing the budget.
Whether you’re starting your first project or a seasoned renovator looking for fresh ideas, these savvy savings tips could save you thousands.
1. GO Skinny ON Skirting and Architraves
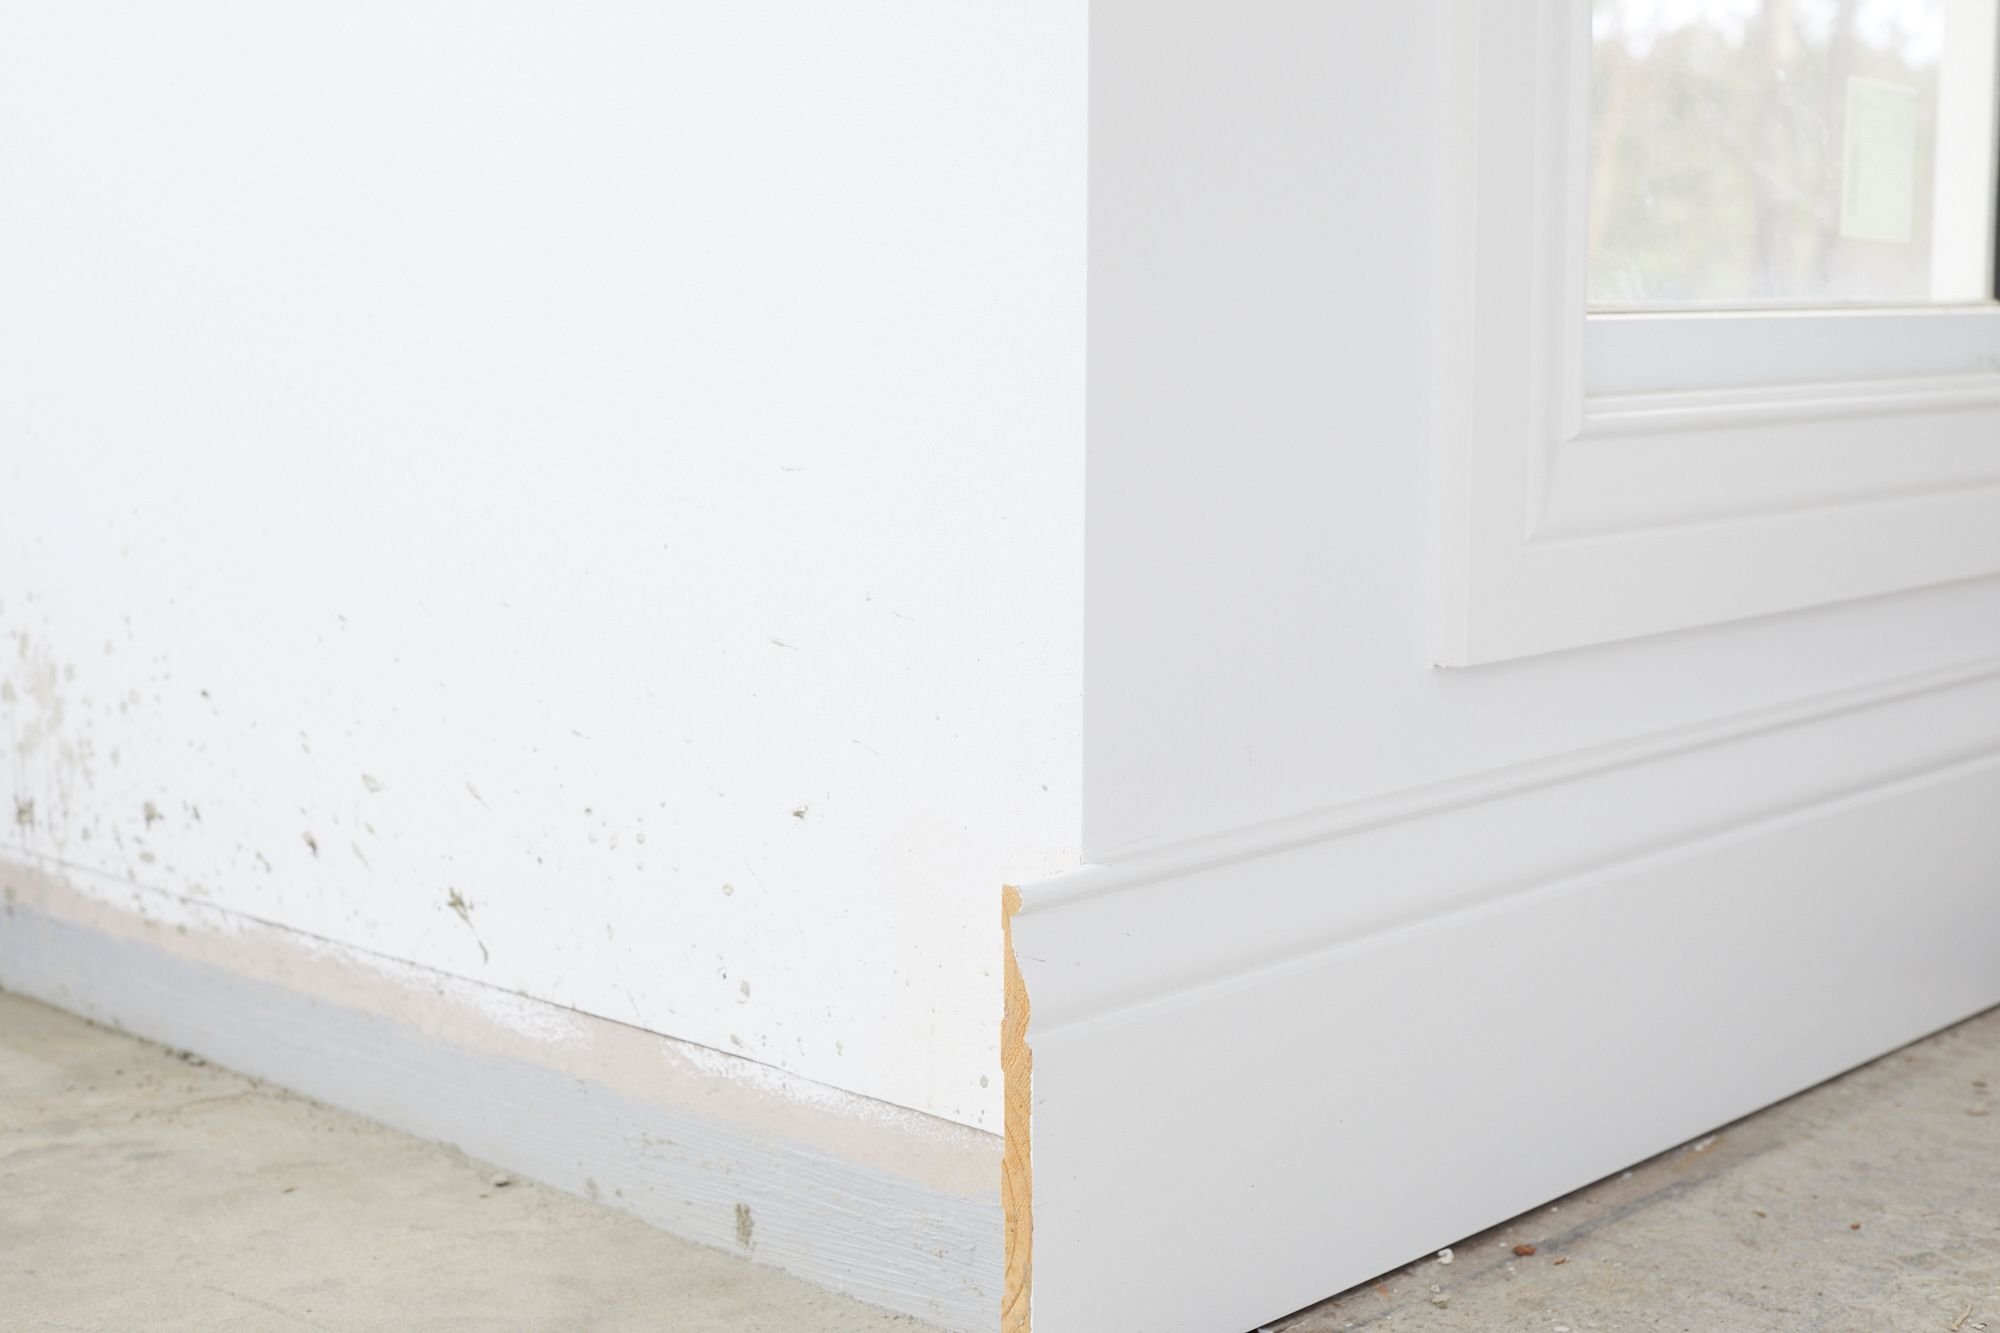
Want to trim the cost of skirting and architraves without trimming the style? Here’s a hot tip: when you’re picking arcs and skirts, ask if there’s a thinner version of the profile you love. For example, an 18mm thickness is almost half the price of the 30mm option, but once it’s installed, the look is almost identical. And just to be clear, we’re talking about the depth of the skirting board, not the height. We’re definitely not suggesting you compromise on height (the taller the better we say)!! But the depth (see the exposed bit of timber below?) is a different story. Same vibe as a thick piece, but way less cash - win-win!
2. DON’T OVERSPEND ON DOORS
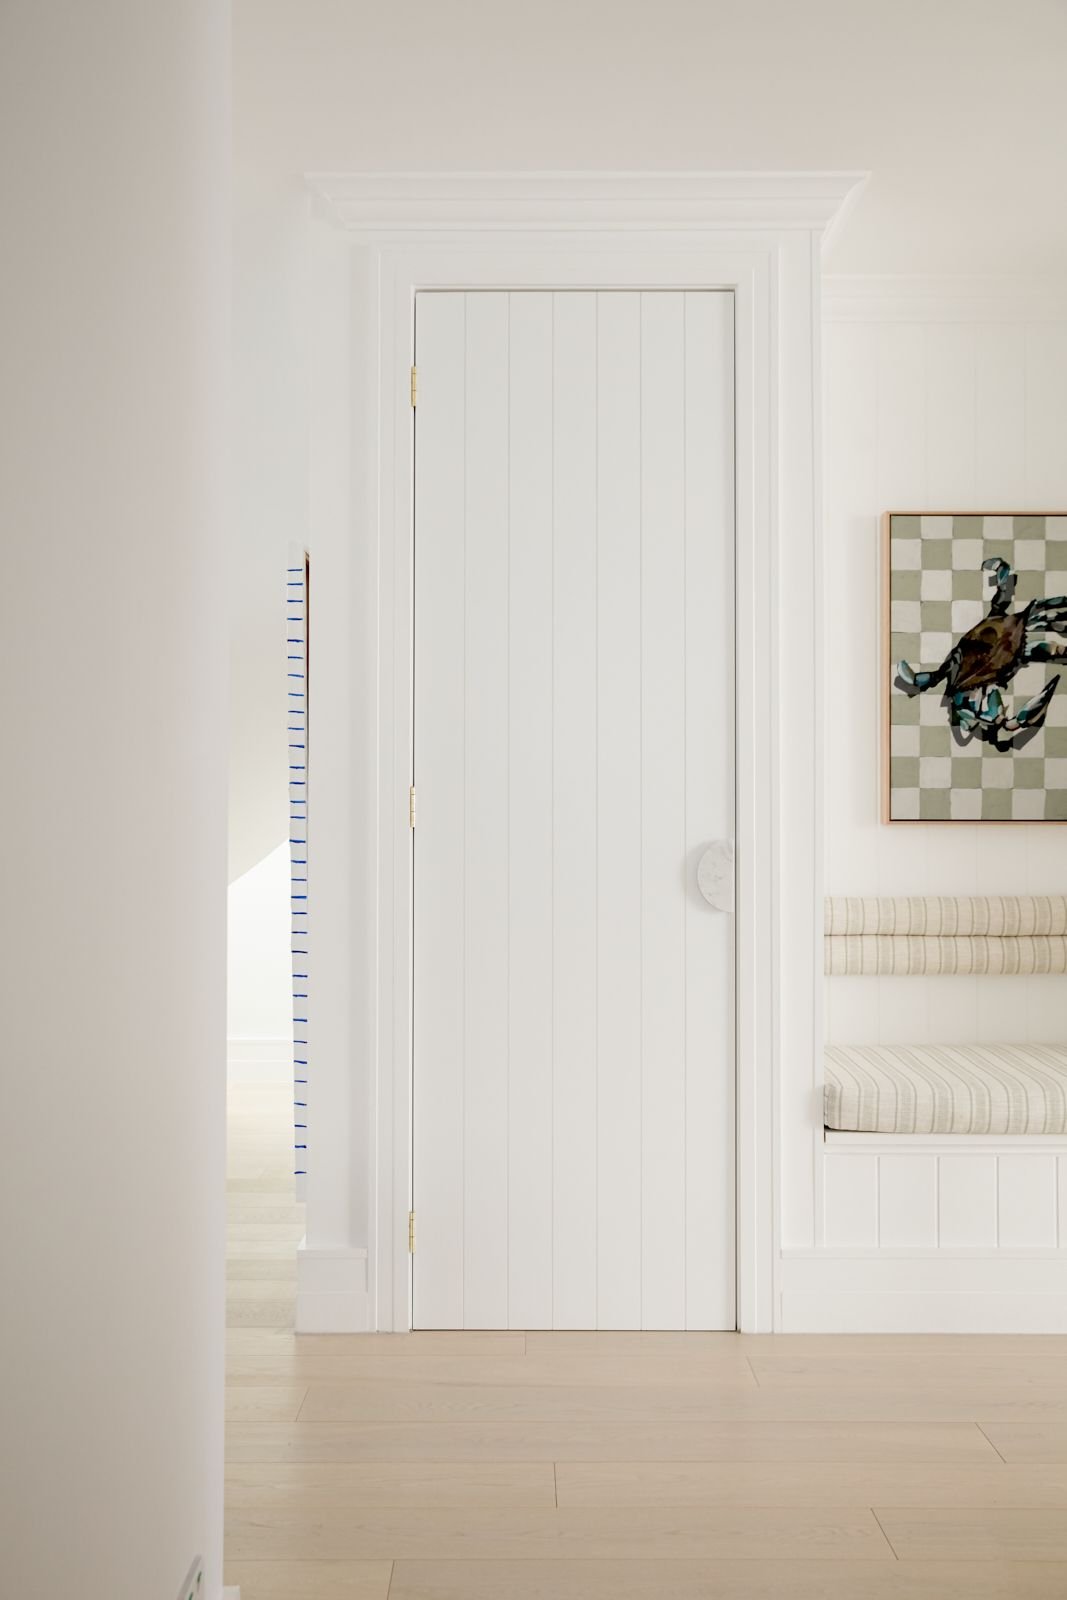
Decide which doors in your home deserve the VIP treatment versus where you can save a few bucks. Love lofty, oversized doors? So do we! But let’s face it, they can blow the budget. Instead, focus your splurge on ‘priority doors’ - the ones that will be seen or used most often - and go for standard door heights of 2m, instead of 2.4m, in places you want to save. Another way to cut costs dramatically is to opt for hollow-core doors rather than solid-core. Despite the name, they’re not actually hollow, but they feel like they are. The doors are constructed with a honeycomb cardboard interior wrapped in a thin veneer outer. This makes them cheaper to buy and install. Once painted, they look like their solid sisters. Truth is, they won’t insulate as well as solid-core doors, but renovating is about compromise and for many people, including Lana and Bonnie, this is a great way to save big.
3. Build a Window Wall Instead of Removing a Wall
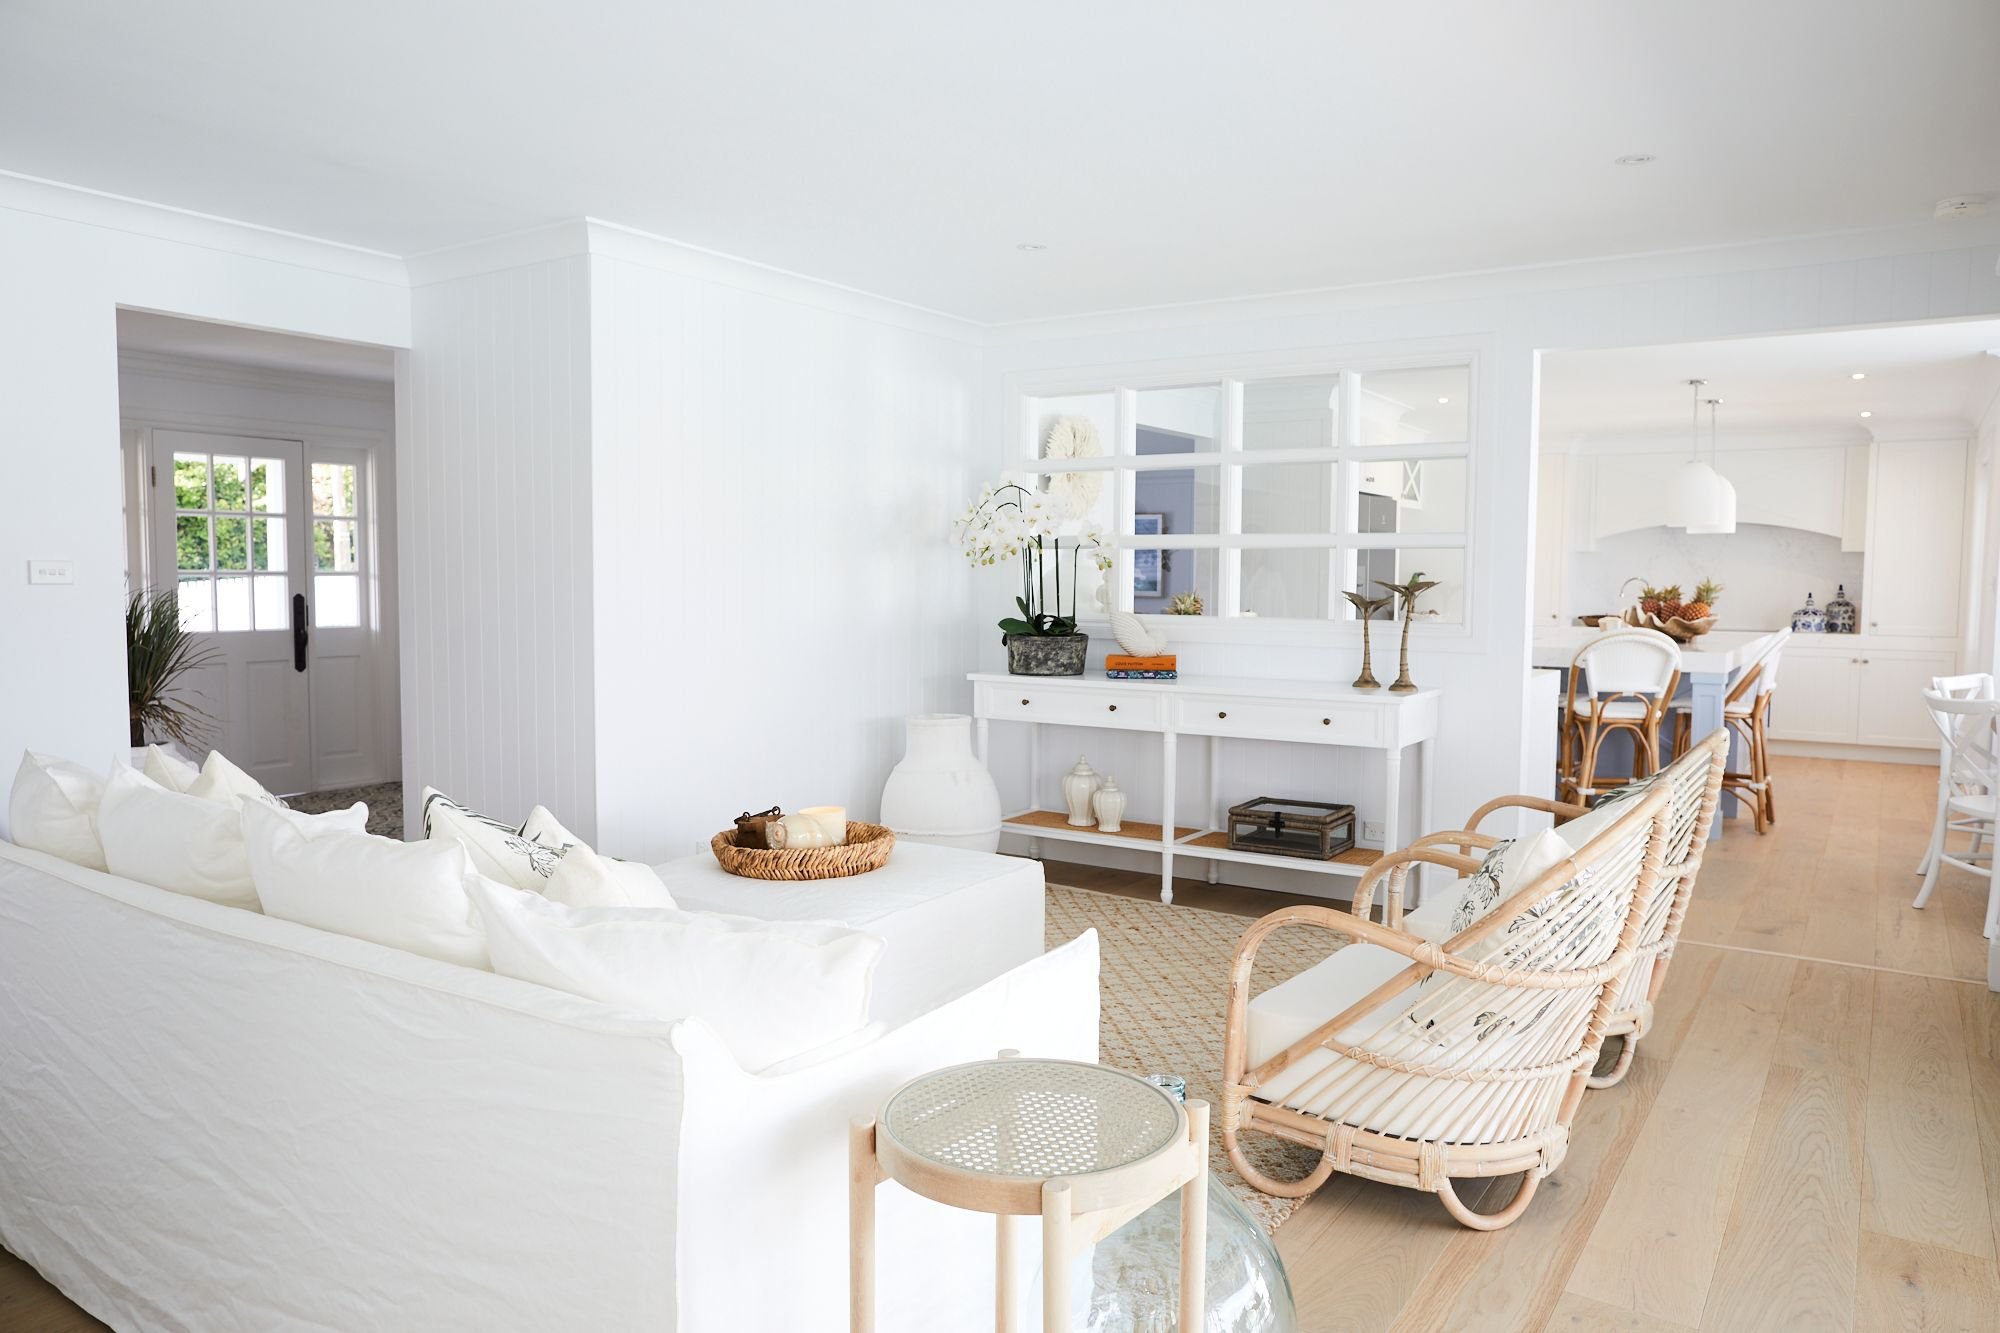
Dreaming of open-plan living but dreading the cost of removing a supporting wall? Enter the window wall! It’s the perfect solution to let in light and create that open feel without a structural budget blowout. Your builder can construct the wall as part of his scope of work and then get a glazier to insert glass pieces into each opening. This is so much more afforable than needing expensive beams in your ceiling. A win for your wallet AND your design goals.
4. Spray Your Bricks
If you’re renovating a brick house, you might think rendering is the only way to get the look you’re dreaming of – but hold up, because that can cost a pretty penny. One of our best budget-friendly tricks for transforming an outdated brick exterior is spraying the bricks with a quality exterior paint. It’s way cheaper than render and can be done in just a few days by a pro or even DIY.
Now, if your heart is set on that smooth rendered finish, here’s a savvy tip: consider rendering just the front façade (hello, street appeal!) and spraying the sides and back. We’ve done it this way before, and trust us, it’s the perfect combo of luxe look and smart spending. Win-win!
5. CHOOSE A STONE DUPE
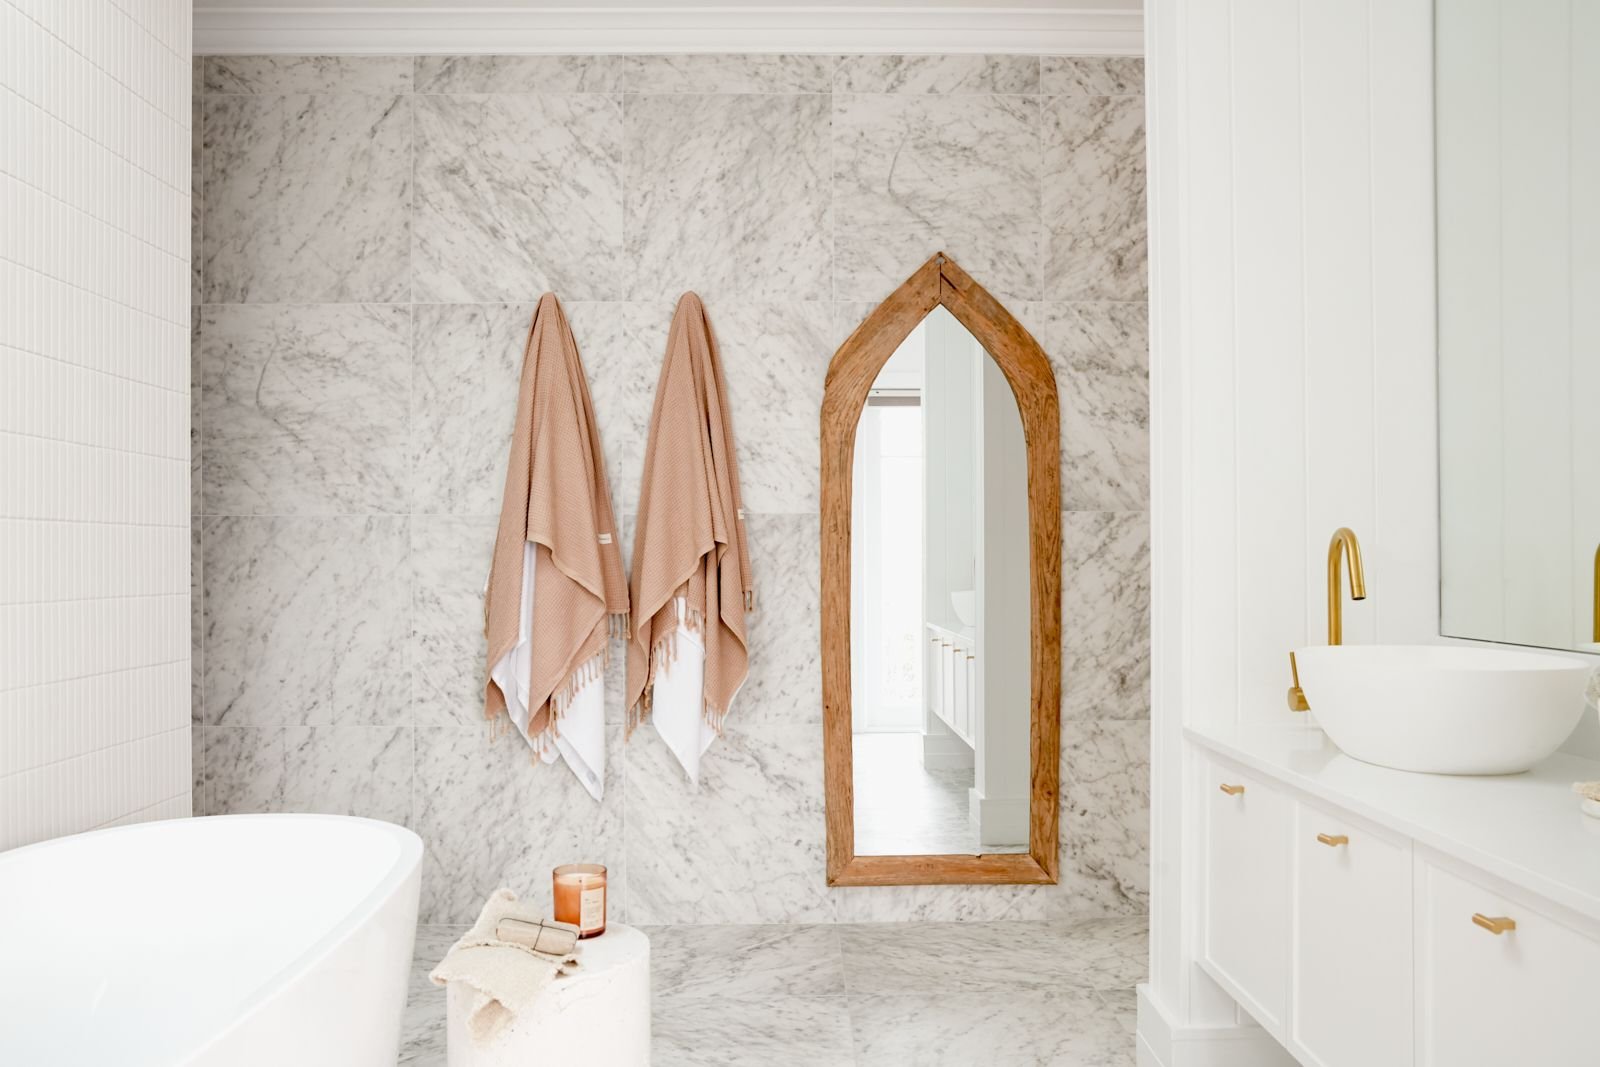
We’re all about those luxe looks, but natural stone (we’re looking at you, travertine, terrazzo, and marble!) can send your budget skyrocketing. So, what’s the dupe? Porcelain tiles that nail the stone look are the ultimate budget-friendly hero - they’re durable, low-maintenance, and look so much like the real deal that no one will know the difference. Champagne taste, lemonade budget? Sorted!
6. Don’t Drop the Floor in Wet Spaces
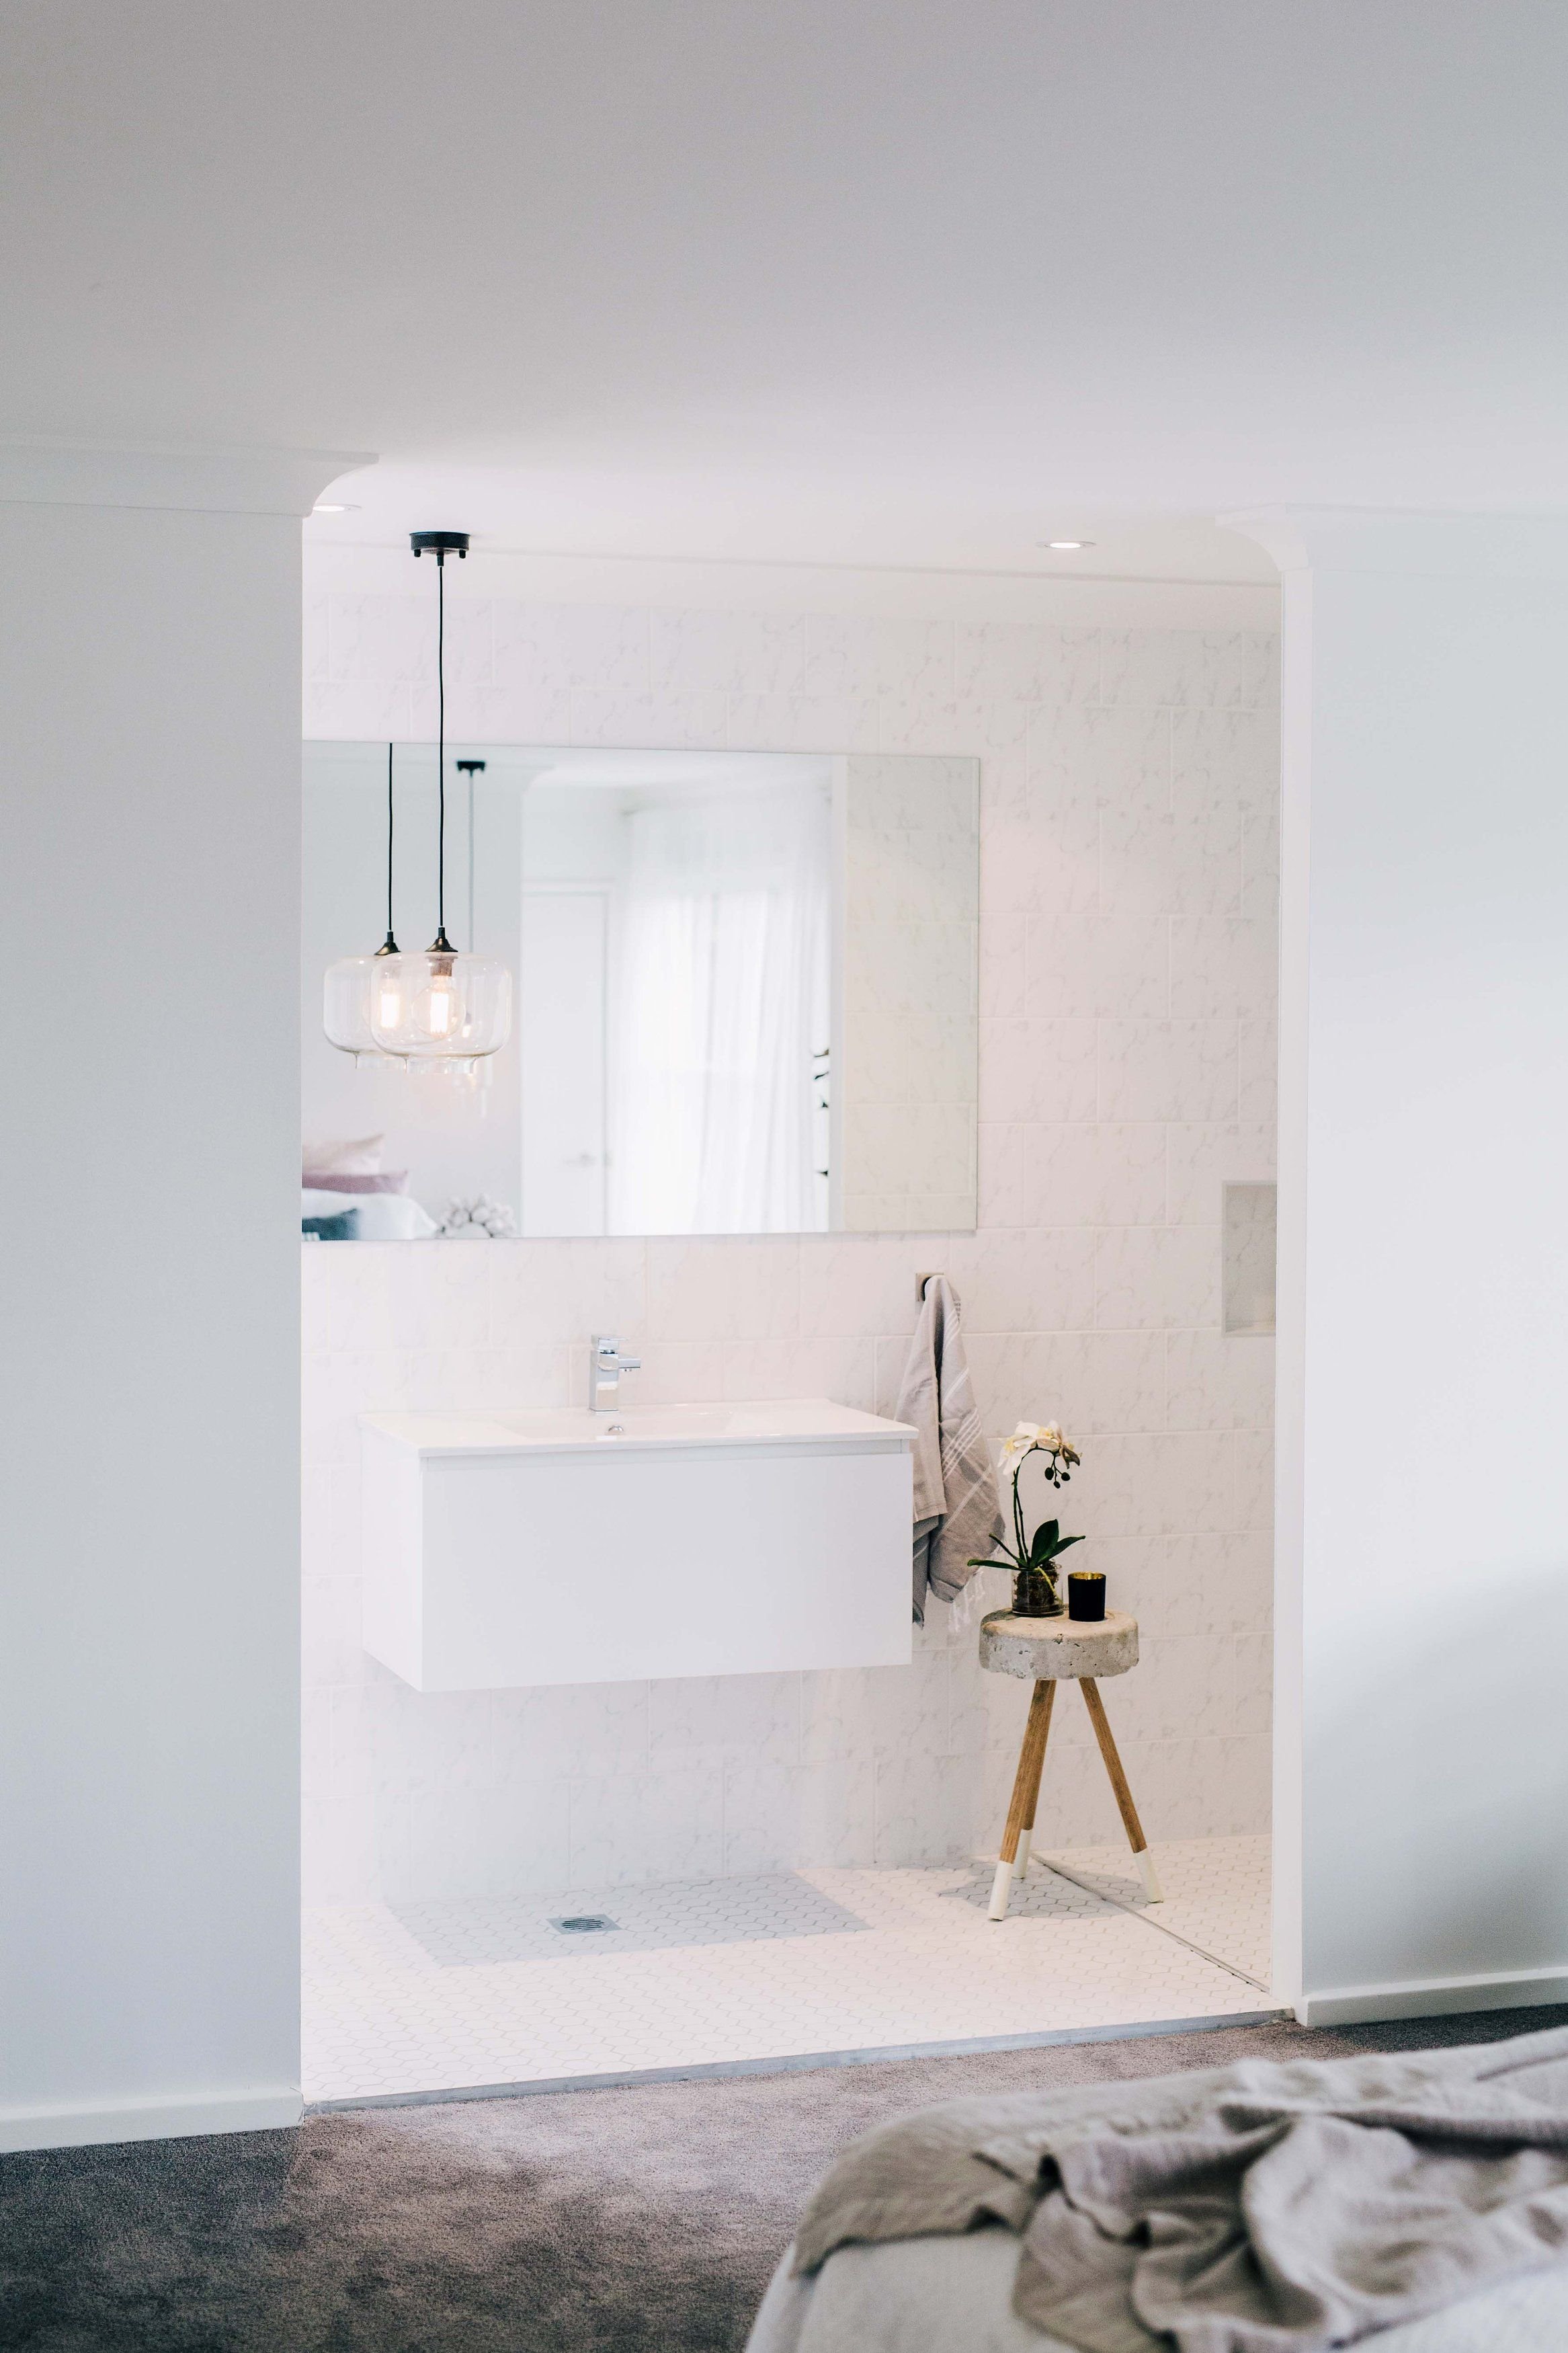
If you’re renovating a bathroom you should be asked by your builder if you want to lower the existing floor first so the end result is flush with the adjoining room. The reason they have to lower the floor first is to allow for the few extra centimetres of height that is going to be added to that wet space with the screed, waterproofing, underfloor heating and of course, the tiles. Does that make sense? Now, if money’s no object, your answer should be ‘yes, I want a flush finish please’. It is the more premium option for sure. But if you need to pull on those purse strings (as most renovators inevitably do) you might be smarter off saying ‘no, I’ll accept a small step’. You can see this small step in the pic below. If you can live with that, it could save you thousands.
7. Paint One Colour Inside
Here’s a tip to save time AND money: pick one hero colour and run with it throughout your home. For example, if ‘Natural White’ is the paint colour you were going to use on your walls, consider using Natural White on the ceiling, cornice, doors, skirting and architraves as well. By using the same shade of white, your painter doesn’t have to waste time meticulously cutting in at all the junctions and his quote should be reduced. To avoid confusion, we’re not saying you use the same paint type, just the same colour e.g - use a ceiling paint for the ceiling and enamel paint for your doors, arcs and skirts, but tint them all to be the same shade. And an added bonus? This approach will make your interiors feel super cohesive and ensure there are no different undertones that can sometimes reveal themselves when you use different shades of white in the one space.
8. Transplant Mature Plants
Mature plants can set you back budget-wise but they're such a great way to fast-track your new home into feeling finished and lived in. There's nothing worse than a garden filled with only anklescraping saplings. Look at online marketplaces for some mature plants and palm trees that people want to get rid of or if you’ve discovered some mature plants around your yard, transplant them into pole position. No need to buy new ones. It’s the budget-friendly way to get that lush garden look without hitting the nursery every five minutes.
9. PEBBLE YOUR PATH
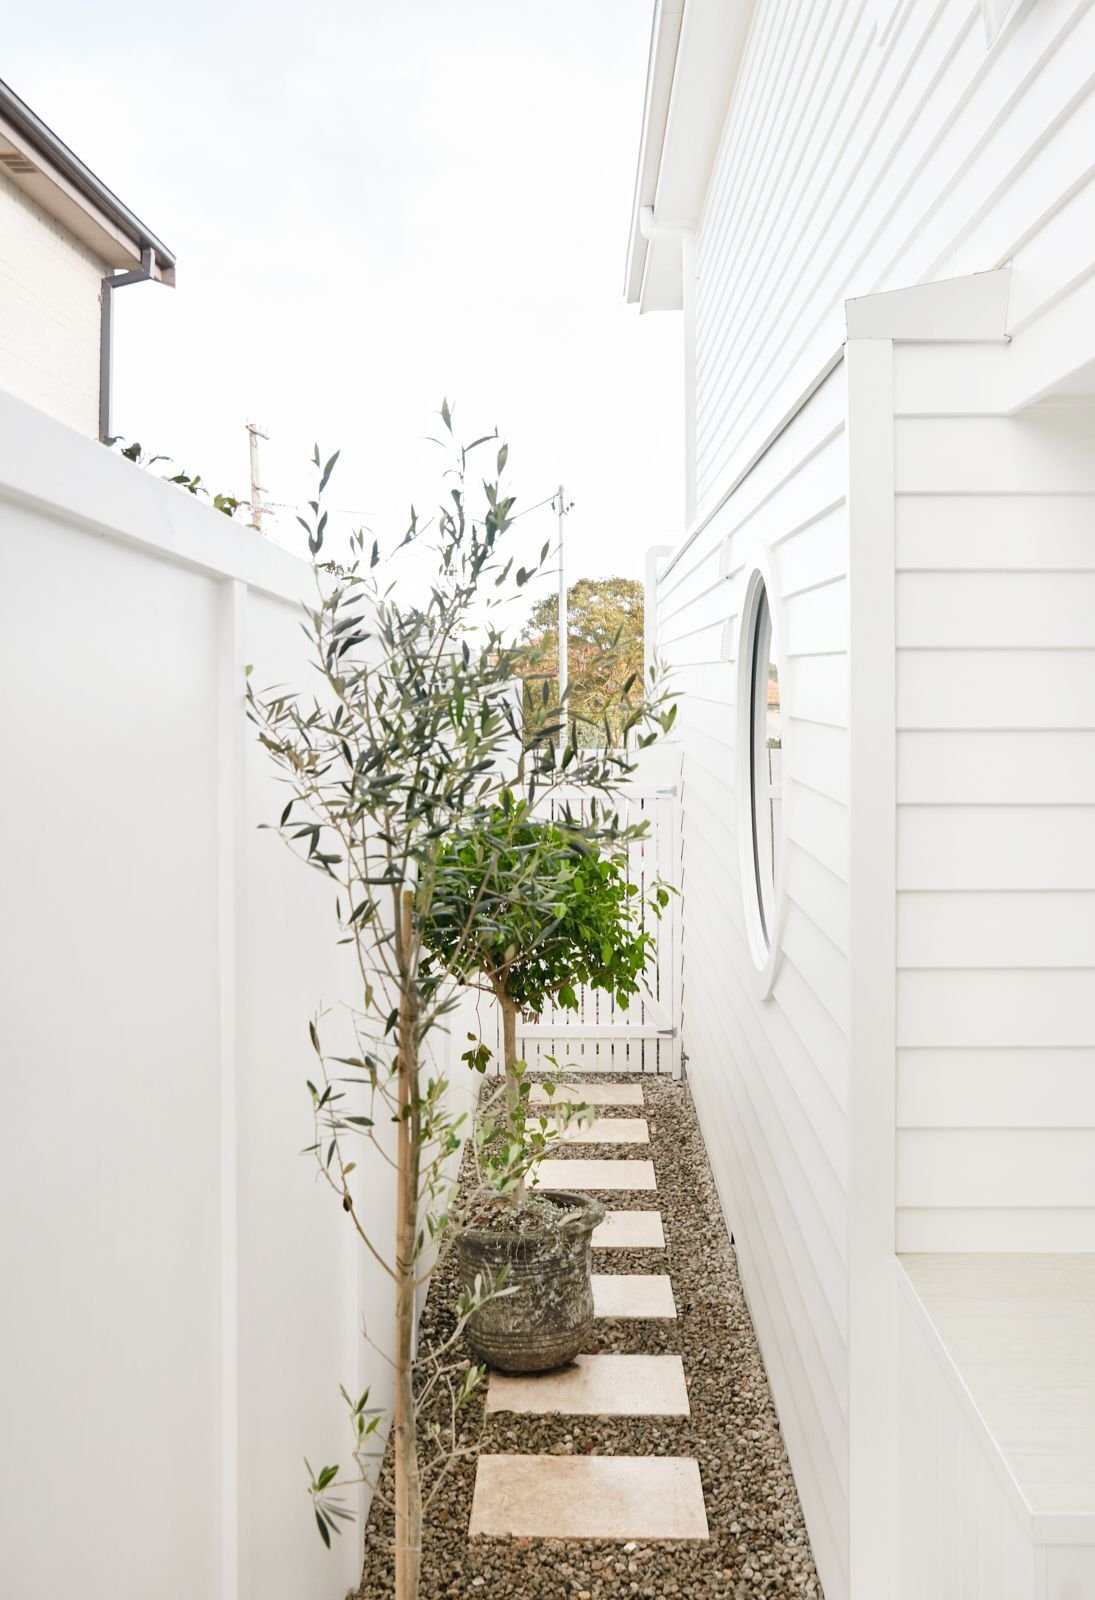
In case you missed the memo, concrete ain’t cheap! And if you’re needing a front path to your door and maybe one or two down the side of your house, it can add up fast! So when you’re looking to save, consider pebbles and stepping stones instead. They’re cost-effective and give your outdoor spaces a gorgeous natural look. Add a few stepping stones for style and functionality, and voila - designer pathways on a budget.
10. Create a Scope of Work
If you take just one thing from this list, let it be this: create a clear Scope of Work! It’s your renovation Bible - a comprehensive brief that outlines exactly what you need your tradies to do, making it crystal clear what’s included (and what’s not) in their quotes. This all-important document helps you avoid expensive surprises and ensures you’re not adding zeros to the budget halfway through the project. Trust us - you’ll be patting yourself on the back later!
Like these tips? We’ve got plenty more where they came from! Check out our online course, Three Birds Reno School, and get access to all the insider advice, community support, and that all important Scope of Work template you need to create your dream home. Whether you’re just starting out or ready to tackle the next big project, we’re here to help you every step of the way.

